Easy Cookie Decorating With the IOD Cameo Mould and Chocolate
Even beginners can create these beautifully decorated cookies with some chocolate and the IOD Cameo Mould. A few steps, a few supplies, and stand back for the WOW!

No time to read now? Pin this for later.
I made a very short video tutorial that will walk you through what I used and all the steps I took to create these beauties. You can watch it here or scroll down to see the list of supplies you’ll need and read the step-by-step instructions.
GATHER THESE SUPPLIES SO YOU CAN DECORATE YOUR OWN AMAZING COOKIES
Chocolate for Melting (combine Milk and White)
Disposable, plastic pastry bag or Ziplock Baggie
Scissors for snipping the pastry bag/baggie
2 Bowls for melting chocolate in microwave
Or - double boiler for melting chocolate
Spoon for chocolate
Parchment Paper
Small flat spatula or butter knife (to smooth back)
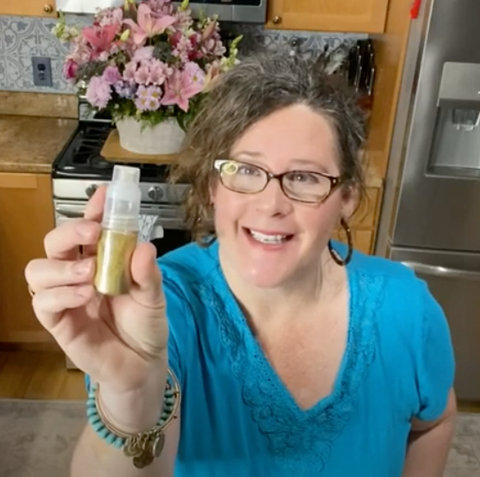
Edible Gold Dust in small spray bottle (a few brands make these)
Freezer access
Cookies - bake your own or buy pre-made
STEP 1: GATHER YOUR INGREDIENTS
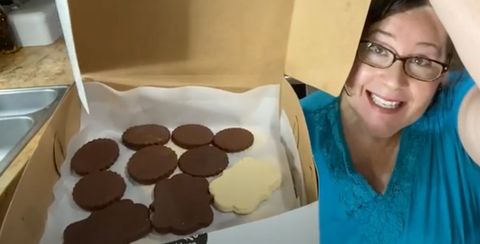
I started by ordering some cookies from my local baker. I wanted to get some chocolate and vanilla biscuit cookies in decorative shapes and varied sizes. Thanks to Keith at Baker’s Station in Peterborough, NH for this batch - they were perfect.

I used a microwaveable bowl to melt my chocolate, starting out with some milk chocolate melting chips. While it melted, I lightly cleaned my IOD Cameo Mould by wiping it out - just to be doubly safe.
Once the chocolate melted, it was time to get it into my plastic pastry bag. I used a spoon and scooped the chocolate in the bag. Once fully loaded (approximately half the bag filled) it’s time to snip the tip of the bag with the scissors so I can pipe the chocolate into the Cameo mold.
PRO TIP: The new IOD moulds show volume measurements next to each casting impression. You can use a syringe to get the exact amount, but I was just as successful using the disposable pastry bag. And you can even use a baggie and snip off a corner to pipe out the chocolate.

BEWARE: it’s easy to make the hole too big - ask me how I know! So make sure to cut the very tip of the bag (or baggie corner) to get a more controlled chocolate fill outcome.

No worries if it looks uneven and overfilled. You can use a butter knife or small flat spatula to smooth it and remove any excess chocolate.

STEP 2: FILL THE MOULD AND FREEZE
After piping the melted chocolate into the mould images, put the entire mould into the freezer for just 3-5 minutes. Then remove the mould and get it over to your work surface. I recommend creating a space covered with parchment paper. Once you bend the mold slightly - the chocolate castings will pop right out.
If there is excess chocolate attached to the casting (from smoothing the back of the chocolate) it will easily break off with a little pressure from your fingers. Clean up the edges on any castings that come out like this.

STEP 3: REPEAT STEPS 1 & 2 WITH WHITE CHOCOLATE
Grab another microwaveable bowl and proceed through the above steps - this time using the white chocolate. Pop the filled mould into the freezer (3-5 minutes) and then easily pop out the castings.
Now you’re ready for your cookie/biscuit decorating!
STEP 4: CAMEO + CHOCOLATE GLUE
To get the Cameo castings to adhere to the cookies, I combined the remaining melted chocolate - both milk chocolate and white chocolate together in one of the microwaveable bowls and remelted the combo.
While I waited, I brought out the individual cookies and chocolate castings and began to match up color combinations and sizes. Once the excess chocolate was ready, I knew which Cameo’s were going on which cookie.
Using a spoon and my fingers (!) I applied the mixed melted chocolate onto the back of the Cameo castings and then laid them onto the cookie. Press down gently to get a good seal with the chocolate.

Once all the Cameo castings are on the cookies - it’s time for the final flourish!
STEP 5: ADD GOLD DUST FOR SOME WOW!
Yes, I discovered edible gold dust. I chose one that comes in a small atomizer bottle. I gave the top of each cookie a complete spray with the gold dust and they look amazing! Not too much bling but it’s the perfect finish for these stunning beauties.

Did I tell you this was an easy cookie decorating idea?

